

I decided to make a really simple but cute vanity.
It only cost be about $22 to make, but I did already have some things at home.
I received some free pallets which is not hard to do. Definitely check craigslist I always see them for free available on there.
BUT! Make sure they have HT markings. This means that they are heat treated and not chemically teated. Chemically treated pallets ARE NOT recommended!
anyways,
Here is the HOW TO:
Items Needed:
- 1 Pallet
- Pry bar
- Sander (I used a hand sander but electric would be great!)
- Hammer/ or drill if you have one
- Wood nails/ or screws if using drill
- Wood Glue
- Saw (I used a jigsaw which was all I had, but hand saw or other saw would be better)
- Measuring tape
- Wood stain (optional) (I used 1 can rust-oleum ultimate wood stain in Cabernet $5)
- Mirror (I got mine from ROSS for $12)
- Chair/stool (mine is from goodwill $5)
STEPS
- First thing I did was take apart the Pallet. I used a hammer and pry bar. This is the time consuming step.
- Try to take each piece off with out splitting wood, and then remove nails.
- After you have everything apart and all the nails removed go ahead and measure the spot where you plan on placing the vanity. I have a small room so I measured mine to be about 29inches Long. And about 19inches wide. For height I had mine measured to be about 30inches. But all these dimensions are customizable to your liking.
- After you get your measurements measure out the wood pieces for the top of the table. I chose 5 pallets pieces which measured out to be 19inches in width. Then I measure each piece 29in across, and cut them with the saw.
- Then I used the wood glue and glued the sides that will connect to each other. I held them tightly together till they got sticky enough to not move.
- Let it dry for a little while.
- The next thing i did was get 2 pieces that were about 19inches cut and put one at each end of the table top piece on the bottom after the glue has dried. (please refer to the video if this does not make sense) and nail them down together( or use drill). This will stabilize the top and help make it sturdy.
- After this step I sanded down the top and bottom then stained it
- Then I started on contemplating how I was going to make the legs. Mind you this was all random and I was making it up as I go lol. This was a random project that I hope went well.
- Anyways, after contemplating I decided to take another 2 pieces that were 19inches long. Then got those pieces cut. put them aside
- Then I measured out 29inches, for the legs with the sturdiest pieces. after I had four 29inch pieces cut for the legs. I got the two 19inch pieces that I had set aside and decided to nail 2 pieces of each 29INCH leg pieces to each end of the 19INCH pieces. ( My explanation here may be confusing please refer to video as well for visuals!)
- Then i sanded the the legs down, and stained them.
- After I got the leg pieces nailed to the two 19INCH pieces, I flipped the table top pieces upside down, then I placed one of the 19INCH piece with the two leg pieces directly on top of the 19inch piece connected to the table top. And nailed those together with the drill, and hammered some nails in also to be safe. I did the something with the other side. (once again refer to the video I do show how I did this so you can better understand my writing).
- I am not sure how long my screw and nails were but make sure to check before doing, so that it does not go through the top of table!
- Then I turn my table to standing position and wahla! it is sturdy, even, and looks pretty great!
- After that I decided to go in search of a mirror and chair.
- I found the mirror in the picture, and video at ROSS for only $12 bucks, I looked at other places like home depot and they were literally triple the price so the same thing!
- Then i decided to try thrift stores for a chair that I can DIY. Found a perfect stool at Goodwill for $5. I got home sanded it down stained it with the leftover stain I had, and there I had it a matching stool.
- I plan on buying some fabric, and padding and Staple that to the stool to add cushioning sometime.
That is about it, hope someone can benefit from this especially if your on a tight budget. I love to do my makeup and desperately needed something, and being broke this was perfect.
Like I mention a few times in the steps, refer to video as you go!
Enjoy!
Angela
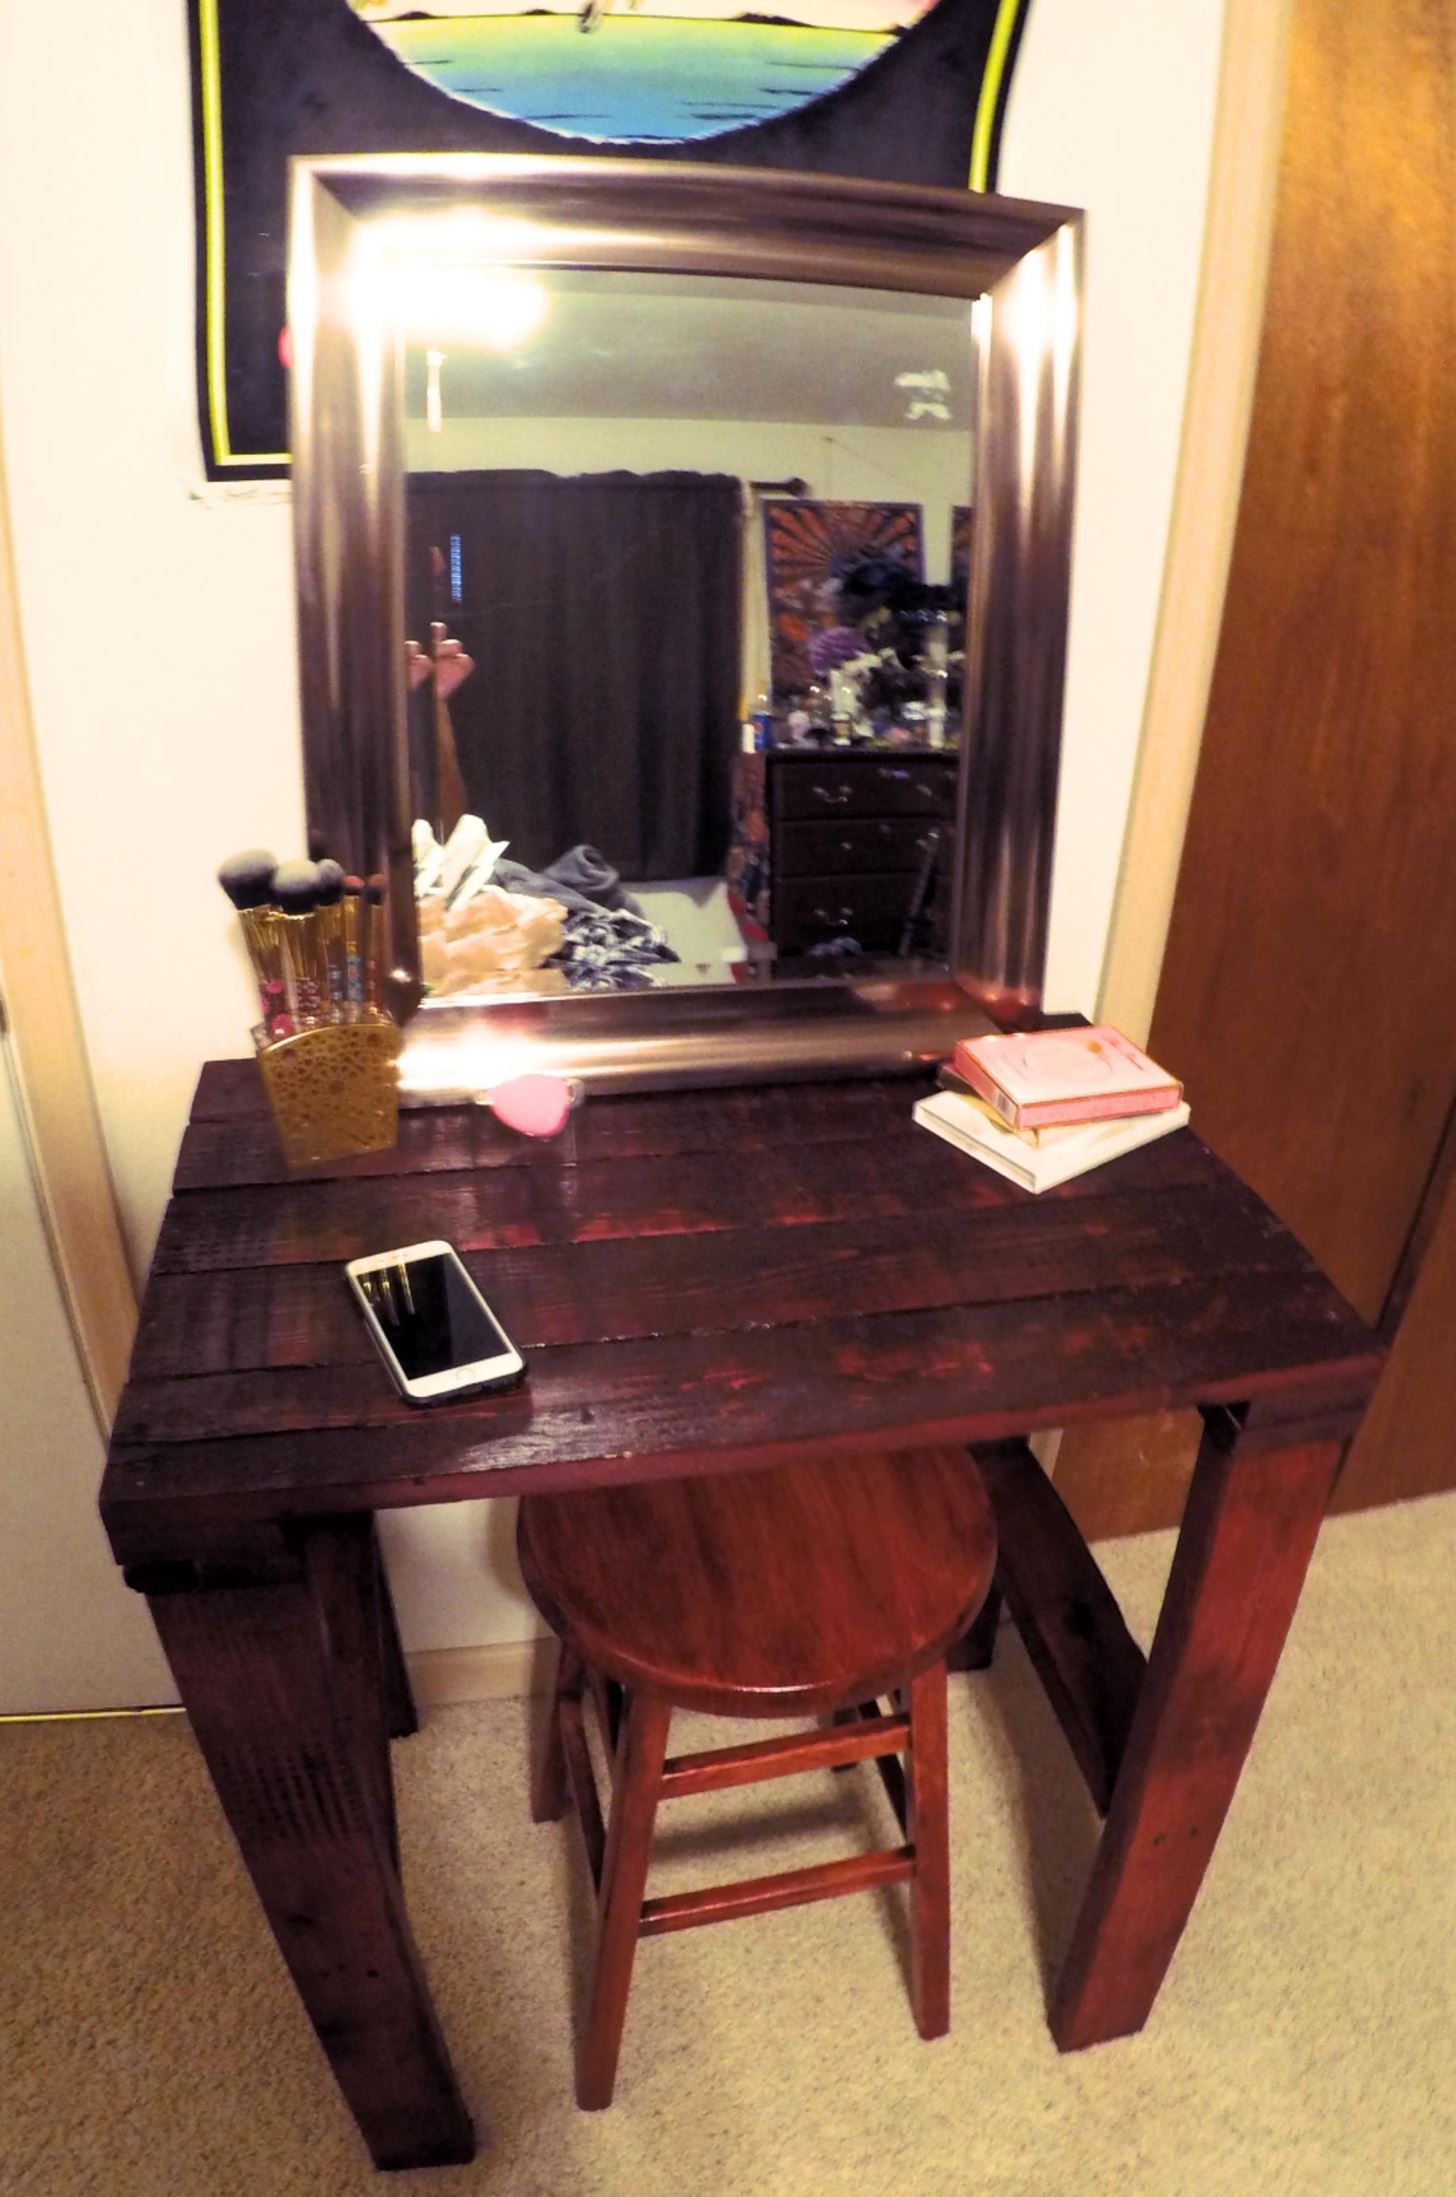
Finished Product.
::)


Be the First to Respond
Share Your Thoughts